Depending on your perspective, 3D printers are now either as easy to use as a traditional home document printer or overwhelmingly complex toys that only tech nerds can really justify owning. And the truth probably lies somewhere in the middle. Regardless of how you feel, 3D printers are already an accessible addition to the modern home and garage tool kit. The next generation of car restorers and modifiers have quickly embraced them. They use 3D printing to remake parts taken out of production long ago or create something new altogether.
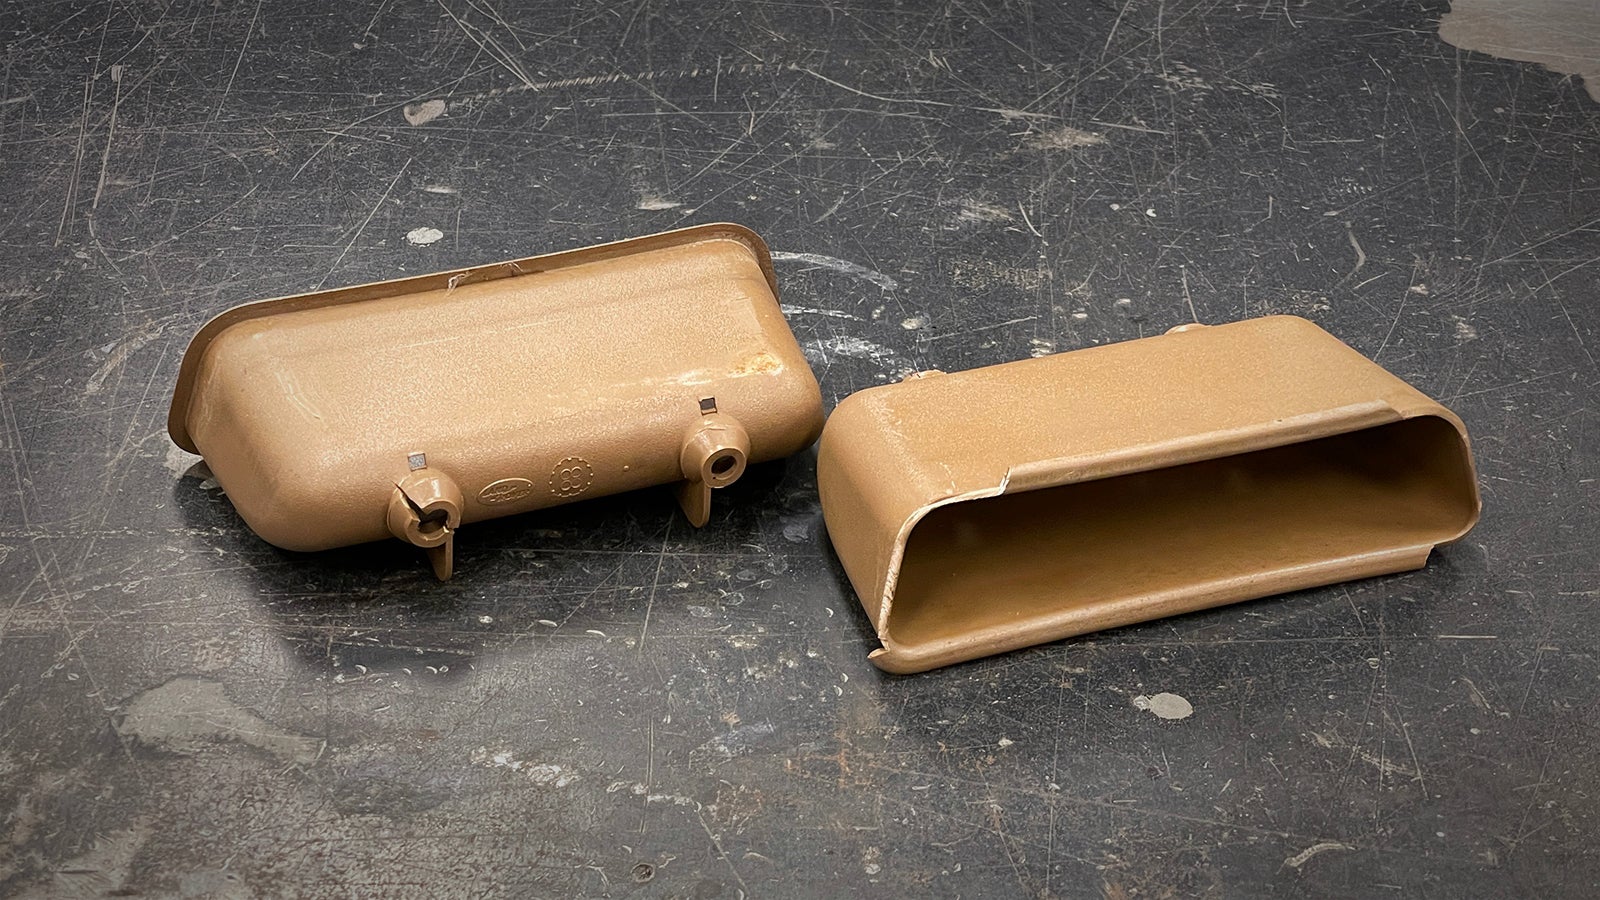
That’s the case with Project Sunny, our 1993 Range Rover restoration project. At 30 years old, it contains a substantial amount of no-longer-available plastic trim. Much of this was of modest quality in the first place and prone to cracking after years of use and exposure. For some of the parts that most often fail the test of time, enthusiasts have already begun to design replacements that can be 3D-printed at home, sharing their files online, often for free.
Of course, a free design file does you no good if you don’t have the hardware to bring it to life. The biggest hurdle for many first-timers is figuring out what printer to choose, as well as what materials and software they’ll need to complete their first project. To demonstrate how to get started, we found a file for a damaged part on our project and got busy printing a replacement.
But first, let’s clarify what exactly 3D printing is. In its simplest form, 3D printing is a digital hardware technology that deposits material (e.g., plastic filament or resin) and solidifies it in built-up thin layers to form a three-dimensional object base on a computer model. If you’ve ever made an igloo out of snowballs, the principle is pretty much the same. It’s just on a smaller scale and with digital precision. Here is what you need to get started.
3D Printer
The most obvious requirement is a 3D printer. There are various types available, such as Fused Deposition Modeling (FDM), Stereolithography (SLA), and Selective Laser Sintering (SLS). FDM printers are the most common and affordable for hobbyists, depositing small drops of heated plastic filament to make plastic parts.
SLA and SLS are typically used for more intensive industry applications for rapid prototyping and manufacturing. SLA deposits a liquid resin instead of plastic filament and uses ultraviolet light to instantly cure the resin as it’s dropped. SLS uses laser light to fuse small metal particles, allowing for complex metal parts to be made without complex dies or machining.
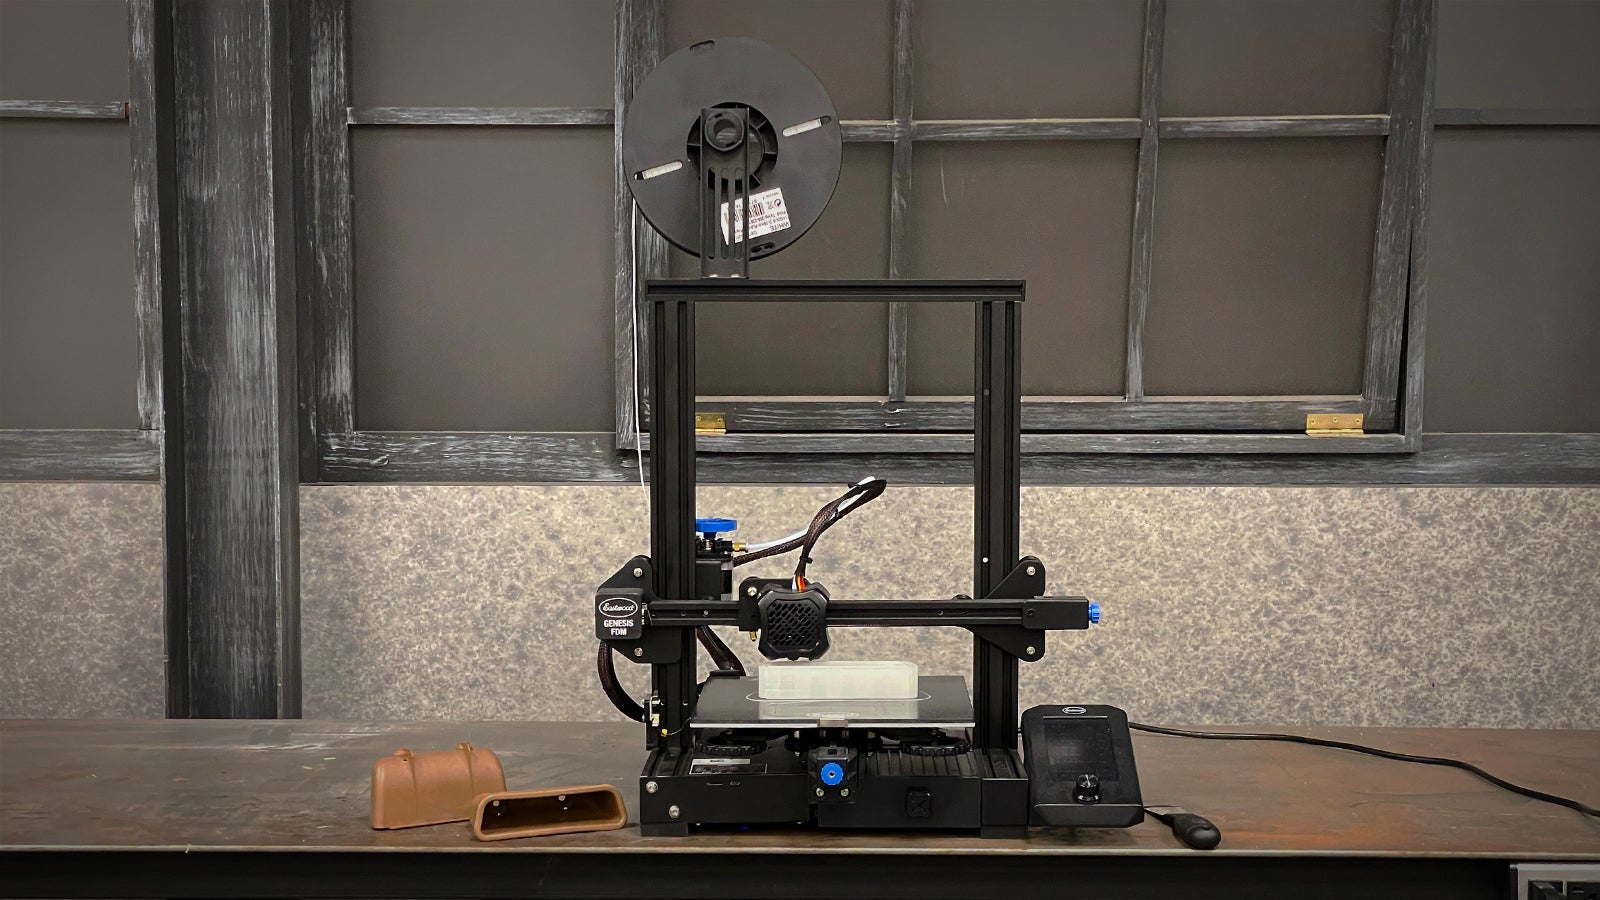
For our demonstration part, we’re using Eastwood’s Genesis FDM printer, an entry-level machine designed for hobbyists. It prints by using either PLA or PETG (see below for details) plastic filament, has a heated bedplate and can create parts up to around 8.5” x 9.75”.
3D Models
Once you have a printer, you’ll need something to print. If you have access to CAD software, you can create your own 3D models. For beginners, you’re better off starting with using pre-made models available online from repositories like Thingiverse, MyMiniFactory, or GrabCAD. Many designs are available for free, while others may require purchase or licensing.
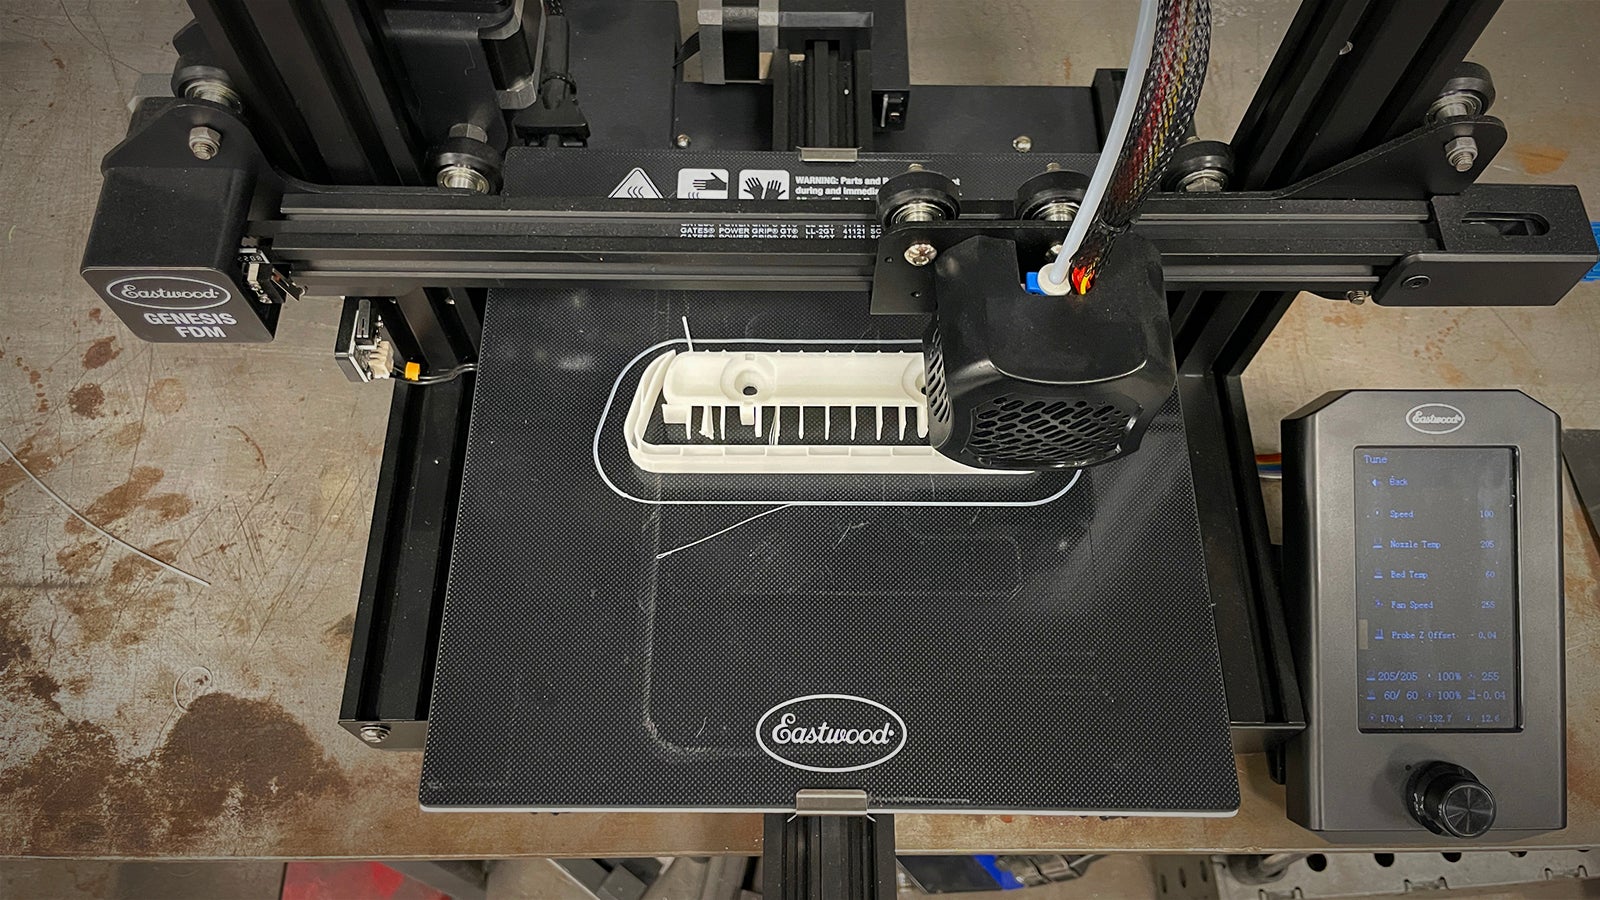
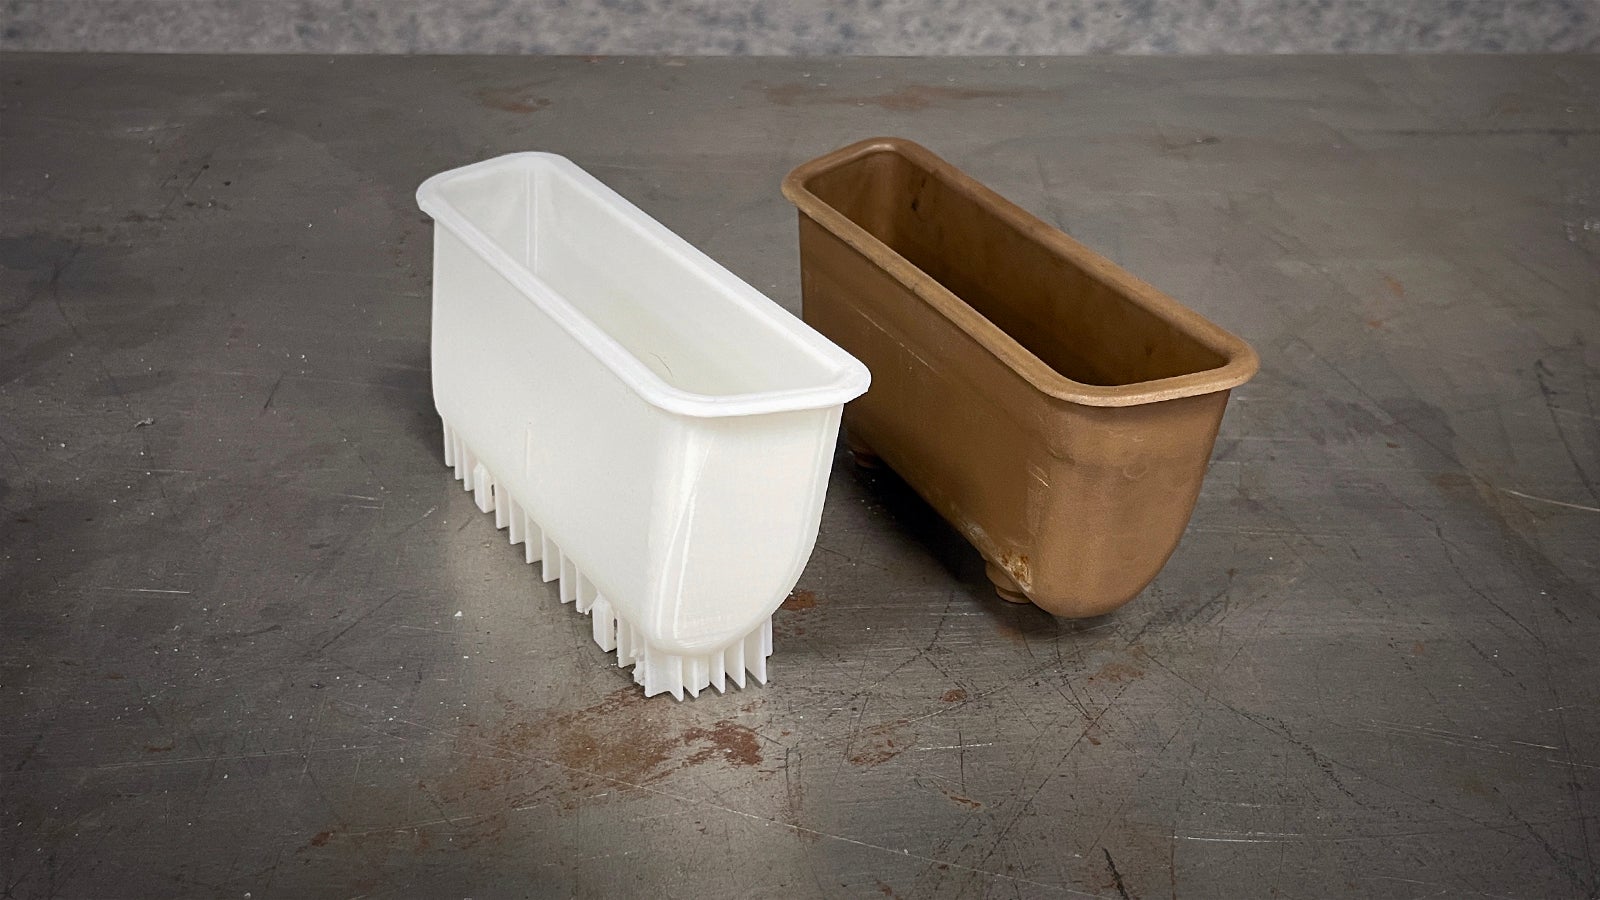
For our project, we’re printing a replacement interior door pull trim. These are notoriously brittle, routinely splitting near the screw holes if they’re overtightened. The thin rim at the top is also prone to cracking and chipping away. We found a couple different models of this part on Thingiverse. One was a two-piece design that required cementing together, the other was a one-piece design that also included support “legs” for printing. That’s the one we chose.
If you decide to try designing something on your own, you don’t have to invest in a full-scale CAD program. Tinkercad is a great tool for beginners designing simple models for 3D printing. Other popular options include Autodesk Fusion 360, Blender, and Solidworks. Depending on your design skills, technical needs, and budget. Some of the software may be free (including Tinkercad) while the more complex programs require a subscription or one-time purchase.
Slicing Software
Before you can feed your file to the printer, you’ll need to prepare printing instructions your printer can understand. Slicing software converts 3D models into specific language for printing. Popular slicing software includes Ultimaker Cura (our go-to), PrusaSlicer, and Simplify3D. Some 3D printers come with their own slicing software.
Filament or Resin
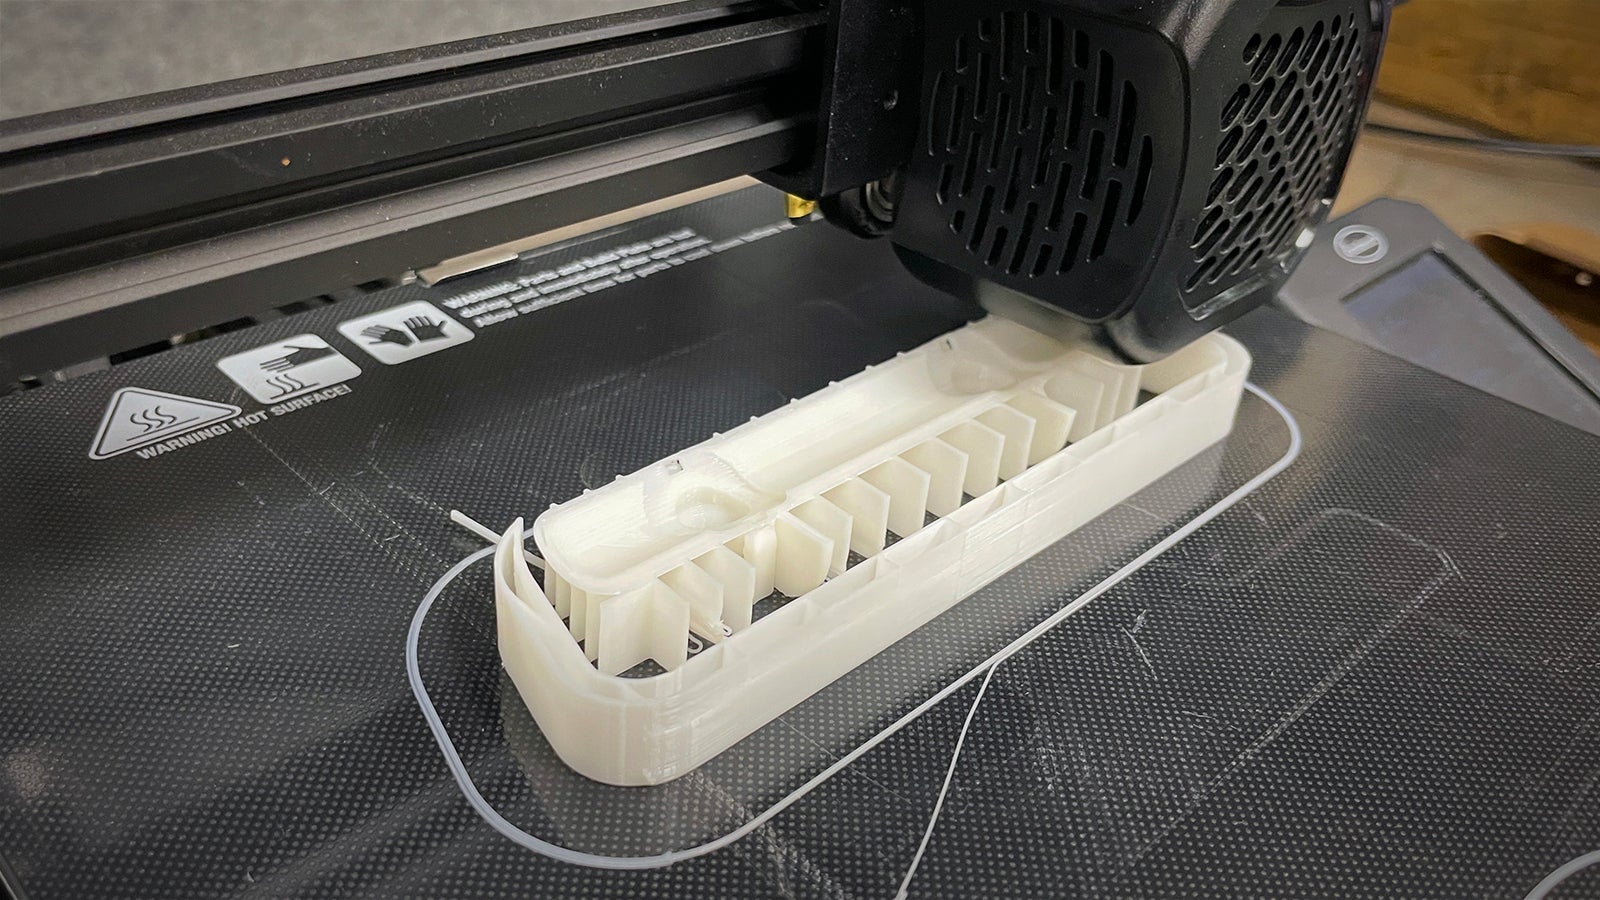
Depending on your printer’s capabilities and the performance requirements of the piece you’re making, you’ll need either filament (for FDM printers) or resin (for SLA or DLP printers). As we already covered above, we’ll be using an FDM printer. This is the most common type of hobbyist printer, so we’ll focus only on filament materials here.
Plastic filament is available in a variety of materials, each with its own advantages and disadvantages. PLA (Polylactic Acid) is a good all-around filament material for beginners. Its main advantages are that it’s environmentally friendly (derived from corn), easy to print with, low odor, and delivers minimal warping. However, it’s not as heat resistant as other materials and is less durable than some, becoming brittle over time. For our test sample, we’re using PLA+, or “enhanced PLA.” This offers improved strength and durability but is more expensive and requires a higher printing temperature.
ABS (Acrylonitrile Butadiene Styrene) is another common filament. Its high-temperature resistance, strength, and durability make it better suited to certain projects. It’s also good for functional parts and can be smoothed out after printing with acetone. It requires a more controlled printing environment, however. Printing in an enclosed, heated chamber helps prevent warping and cracking. ABS also emits potentially harmful fumes during printing, so good ventilation is a must (think garage instead of basement).
In between PLA and ABS is PETG (Polyethylene Terephthalate Glycol). This filament is durable, impact-resistant, flexible, and resistant to moisture (a drawback to PLA and ABS). Less prone to warping than ABS, it is likewise suitable for functional parts and is also food-safe. Like ABS, it can be more challenging to print than PLA, may require a heated bed, and emits odors during printing.
RESOURCES IN THIS ARTICLE
- Eastwood Genesis FDM 3D Printer – Item # 60381
- Eastwood 3D Printer Filament PLA+ – Item # 59985
- Eastwood 3D Printer Filament ABS+ – Item # 59991


