
While there are many ways to weld metal two pieces of metal together – gas, stick, MIG, TIG, resistance – the one that often strikes fear into most DIYer is TIG (Tungsten Inert Gas) welding. TIG welders are versatile machines that allow for welding both steel and aluminum. The process itself, however, a high degree of eye-hand coordination and judicious pacing as you feed filler rod into a small weld area. But many newcomers are overwhelmed over how to properly set up the welder for a project.
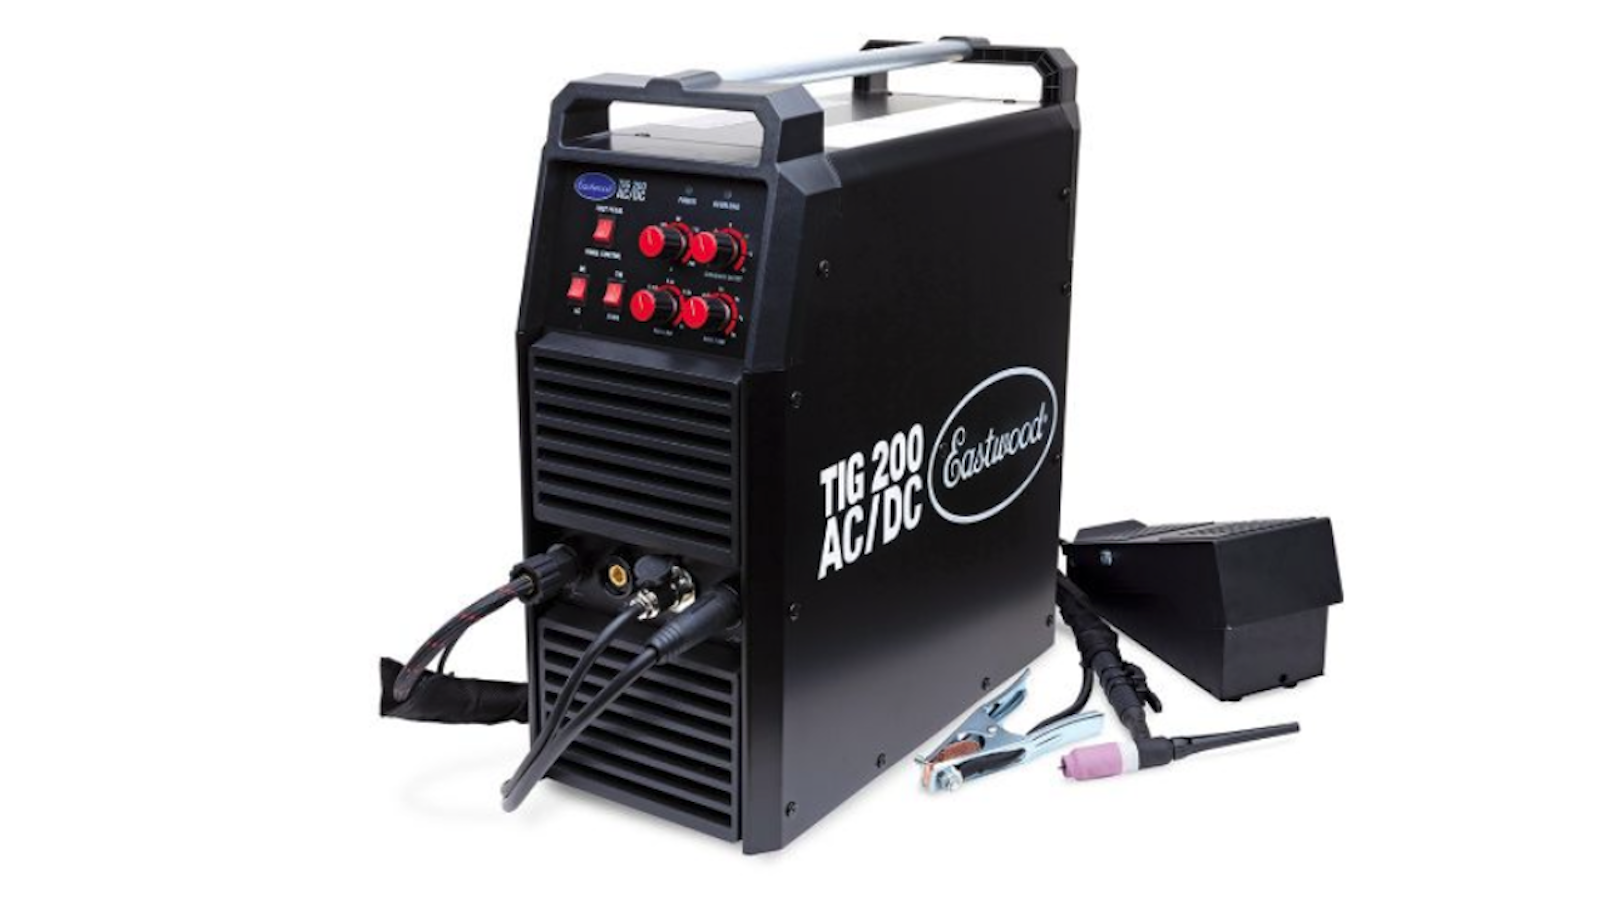
Below is a primer on the basic functions you might encounter on a typical AC/DC TIG welding machine, along with explanations of their effects on the work. We’re using Eastwood’s popular TIG 200 AC/DC unit for demonstration purposes, but the information will be relevant to other common consumer focused TIG welders. Always refer to your own machine’s owner’s manual for specific settings, however.
Your welder should have a setup guide printed on a label, often mounted in plain sight for easy reference. It’s important to note that many of the settings will show a range, and that you may need to make adjustments as you work based on actual material and working conditions.
Hardware and Materials
Tungsten electrode – Unlike MIG or stick welding, where the electrode is a consumable material that melts into the weld seam, TIG welding uses a permanent electrode made of tungsten. This metal’s extreme hardness along with its high melting point (almost 3700º F) allow for this. Tungsten electrodes are made in different sizes to accommodate different material thicknesses, typically either 1/16” or 3/32” for DIY welders. Thinner materials naturally call for smaller electrodes and lower current loads to prevent overheating the work.
TIG electrodes are also color coded for different uses. The different colors indicate different oxides present in the tungsten chemistry, typically thorium, cerium, lanthanum, or zirconium. The composition affects how the electrode’s ability to carry current and resist contamination during welding. Red and purple tungstens are both pretty universal and may be the only ones needed for many DIY projects.

It’s important to note that while tungsten is a tough material, the precision-ground tip of a TIG electrode will erode with use. The tungsten will need to be reground occasionally to maintain performance. This should ideally be done with a dedicated tungsten grinder to deal with the material hardness and to prevent contamination from other abrasive surfaces.
Gas – The type of material you’ll be welding will dictate the type of inert (non-flammable, non-corrosive) gas you’ll be flowing. Welding steel, including stainless, requires straight argon, but aluminum requires a mix of argon and CO2. This is typically available in a 75%/25% mixed bottle from most welding supply shops. However, the two gasses can also be sourced separately and blended inline using a regulator to control the mixture.

Gas lens – As the name suggests, these ceramic torch ends, sometimes referred to as just cups, help focus the gas into a specified weld area. The thicker the material, the more gas you’ll need to flow and therefore a “wider” lens will be required. A narrower lens can also help manage gas flow when welding in an environment with moving air, such as outdoors.
Filler – TIG welding works by adding filler material to the hot gas arc. This filler rod material must be compatible with the materials being joined or welded together. Welding aluminum, therefore, requires aluminum filler rod, steel needs steel filler, and stainless steel needs stainless rod.

Control Panel Settings
AC/DC switch – Welding aluminum requires alternating current (AC while most other materials use direct current (DC). It’s critical that you set this according to the material you’re welding.
TIG/Stick switch – This switch converts the machine from TIG operation to traditional stick welding. You’ll also need to move the ground clamp from the negative port to the electrode port on the front of the welder and work in DC mode.
Amperage – This controls the amount of heat-generating current going to the electrode. Thicker material needs higher current.

Pre-flow – Before you strike an arc, inert gas needs to be flowing to the weld area. Pre-flow is the length of time the gas flows before amperage is applied to start the weld. Every hit of the trigger will start a new pre-flow cycle.
Post-flow – To ensure a clean joint, the welding gas needs to shield the weld area for a short period after the arc ends. Post-flow is the the opposite of pre-flow, and the cycle should be fully complete before you pull the torch from the weld.
Clearance effect – Also known as “cleaning action,” this controls how much cleaning versus penetration occurs which is critical to getting good penetration when welding materials like aluminum and magnesium. A more negative value will result in greater penetration and less cleaning; a more positive value will result in less penetration but greater cleaning.
Foot pedal switch – Normally you’ll control the welding cycle with the finger trigger on the handheld torch. But sometimes you may want to free up your trigger hand for better control by operating it with the foot pedal instead.

RESOURCES IN THIS ARTICLE
- Eastwood TIG 200 AC/DC – Item # 33920
- Eastwood Tungsten Grinder – Item # 33307
What are you smoking?
You say to use 100% CO2 gas for tig welding steel and a 75/25% CO2 argon mix for tig welding Aluminum.
I know you are wrong!
I was always told to use 100% Argon when tig welding unless you want to mix some helium for thicker Aluminum