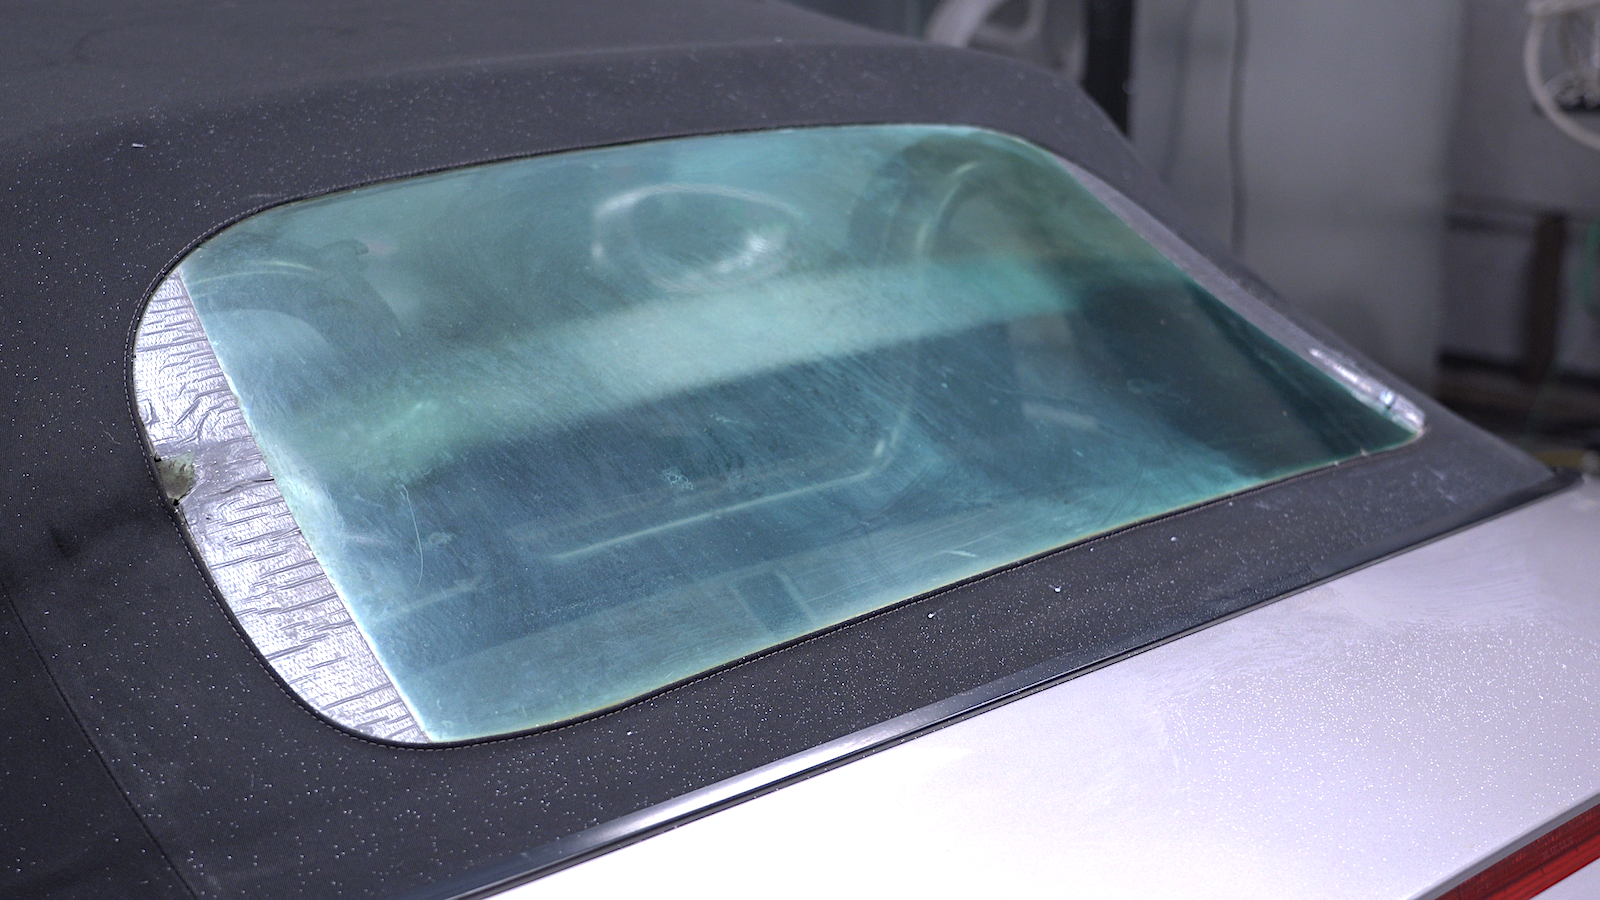
Whether you drive an old roadster or a modern 4×4, there’s a good chance the vinyl windows in your soft top are going to become increasingly cloudy as they age. Most tops are lucky to see a decade’s worth of service before they need a full replacement. But even if the roof keeps the weather out, it’s often the soft windows that show the top’s true age.
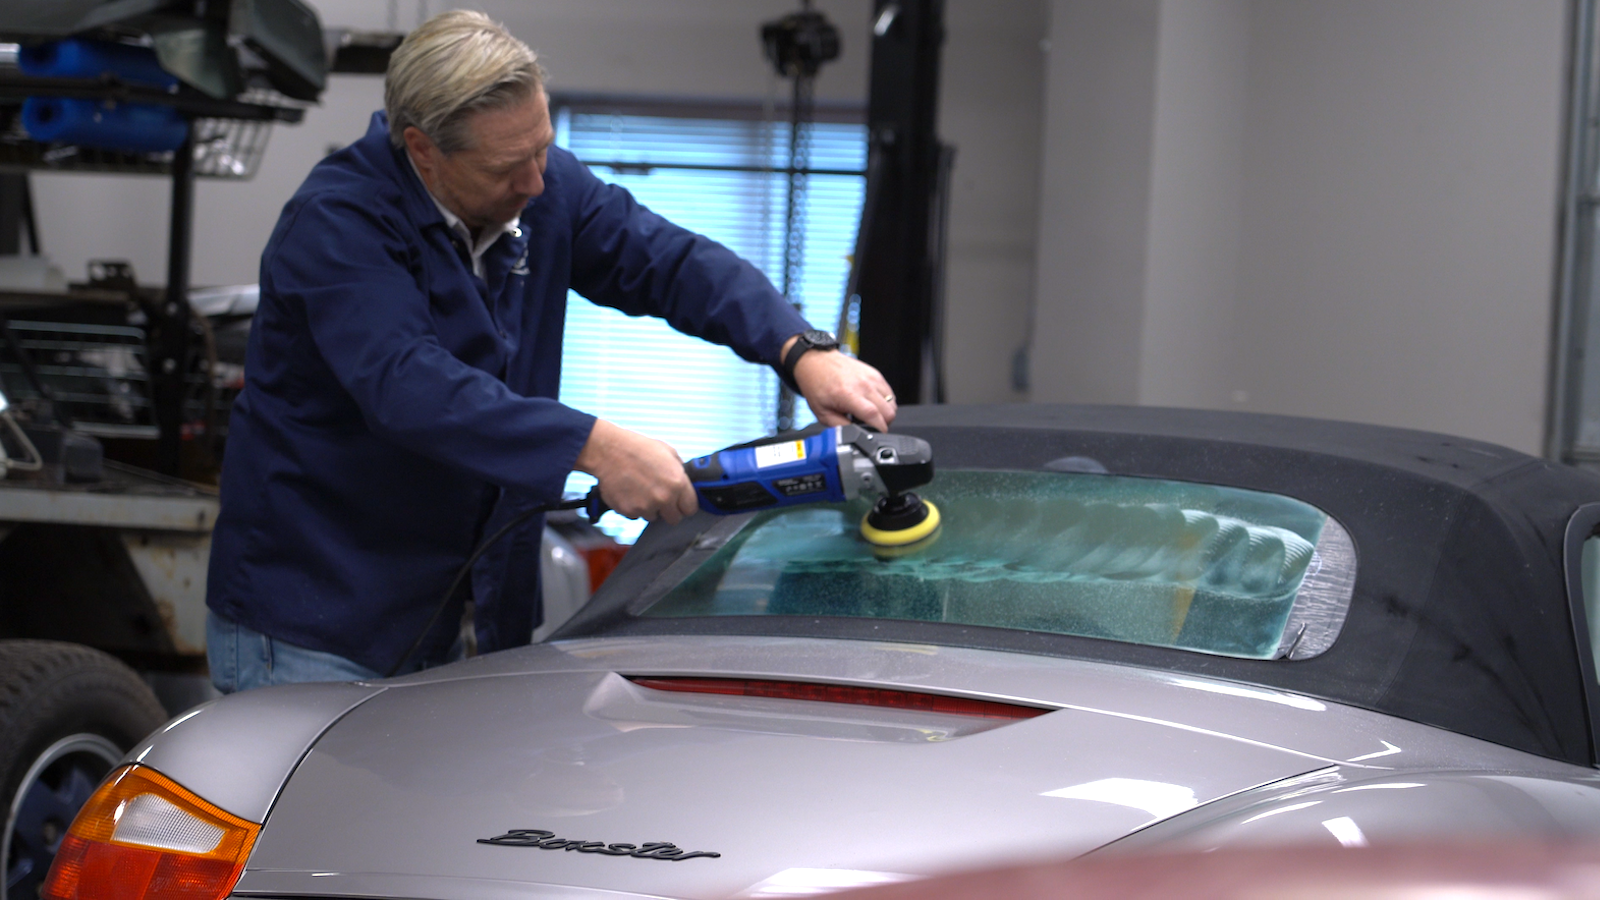
But can you extend the life of a vinyl window before it becomes too opaque to still see through? That’s what I wondered as I looked at the top on my daily driver, a 23-year-old Boxster. Having recently ordered a new top for it, I had nothing to lose by experimenting on my own rear window. Already cracked at the edges anyway, if I made a mess of it, the setback would only be temporary.
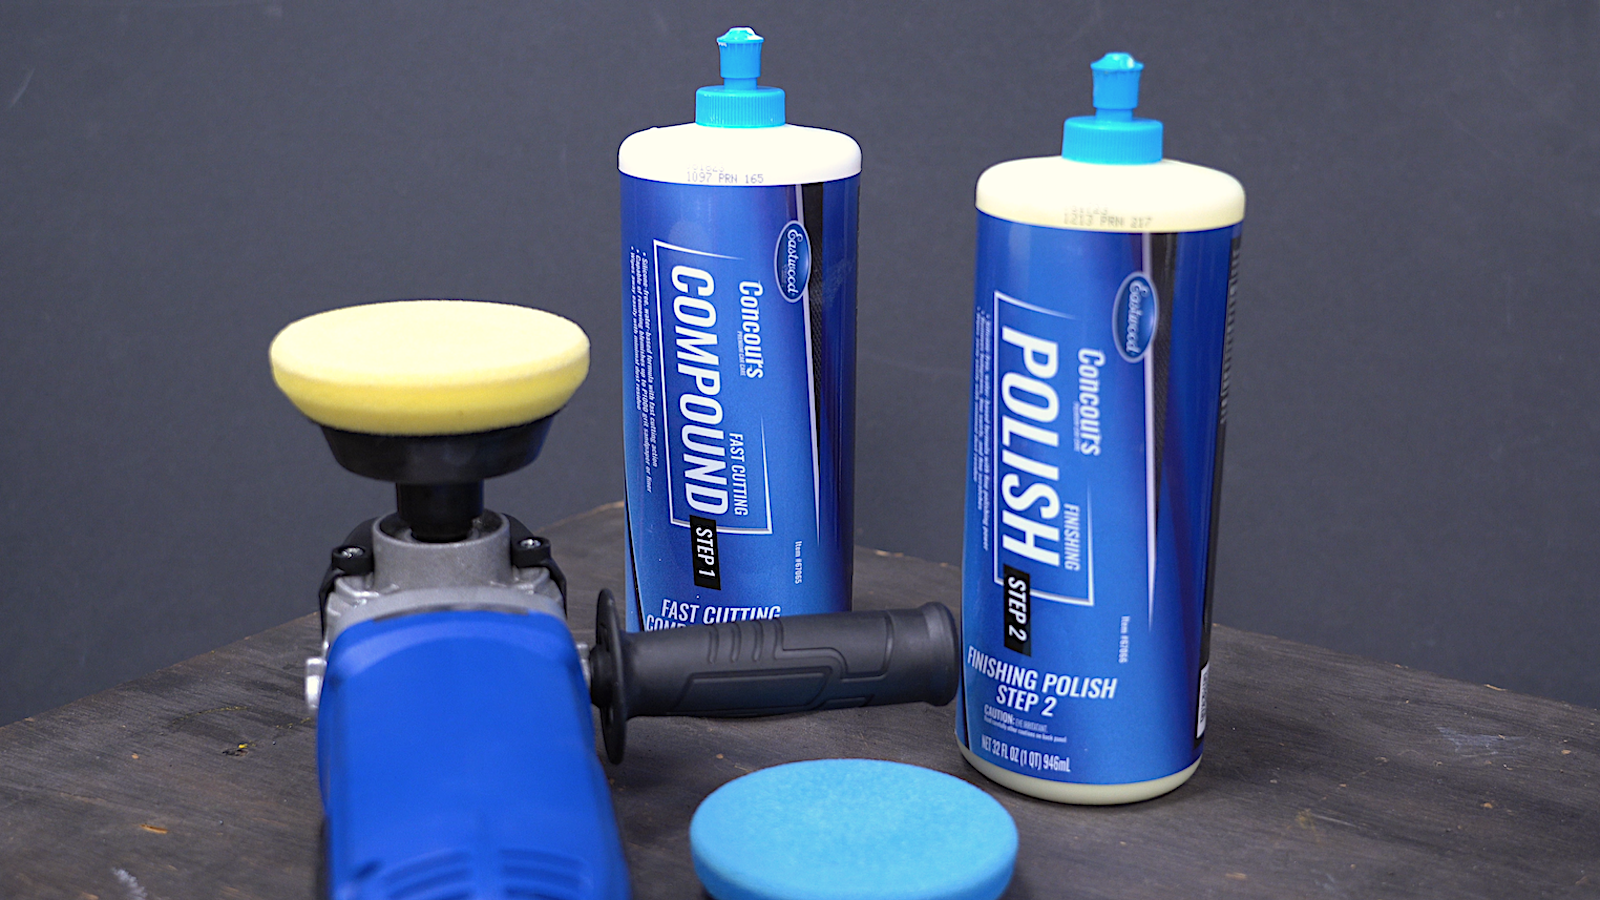
As luck would have it, the first shipments of Eastwood Concours Cutting Compound and Finishing Polish had just arrived. Even though they’re intended for paint correction, I knew from experience that fine paint polishes are often effective at clearing up foggy soft top windows. I fully expected the two-step combination to improve overall visibility. However, the real test would be whether they’d even touch the murky stripe where the window folds over onto itself.
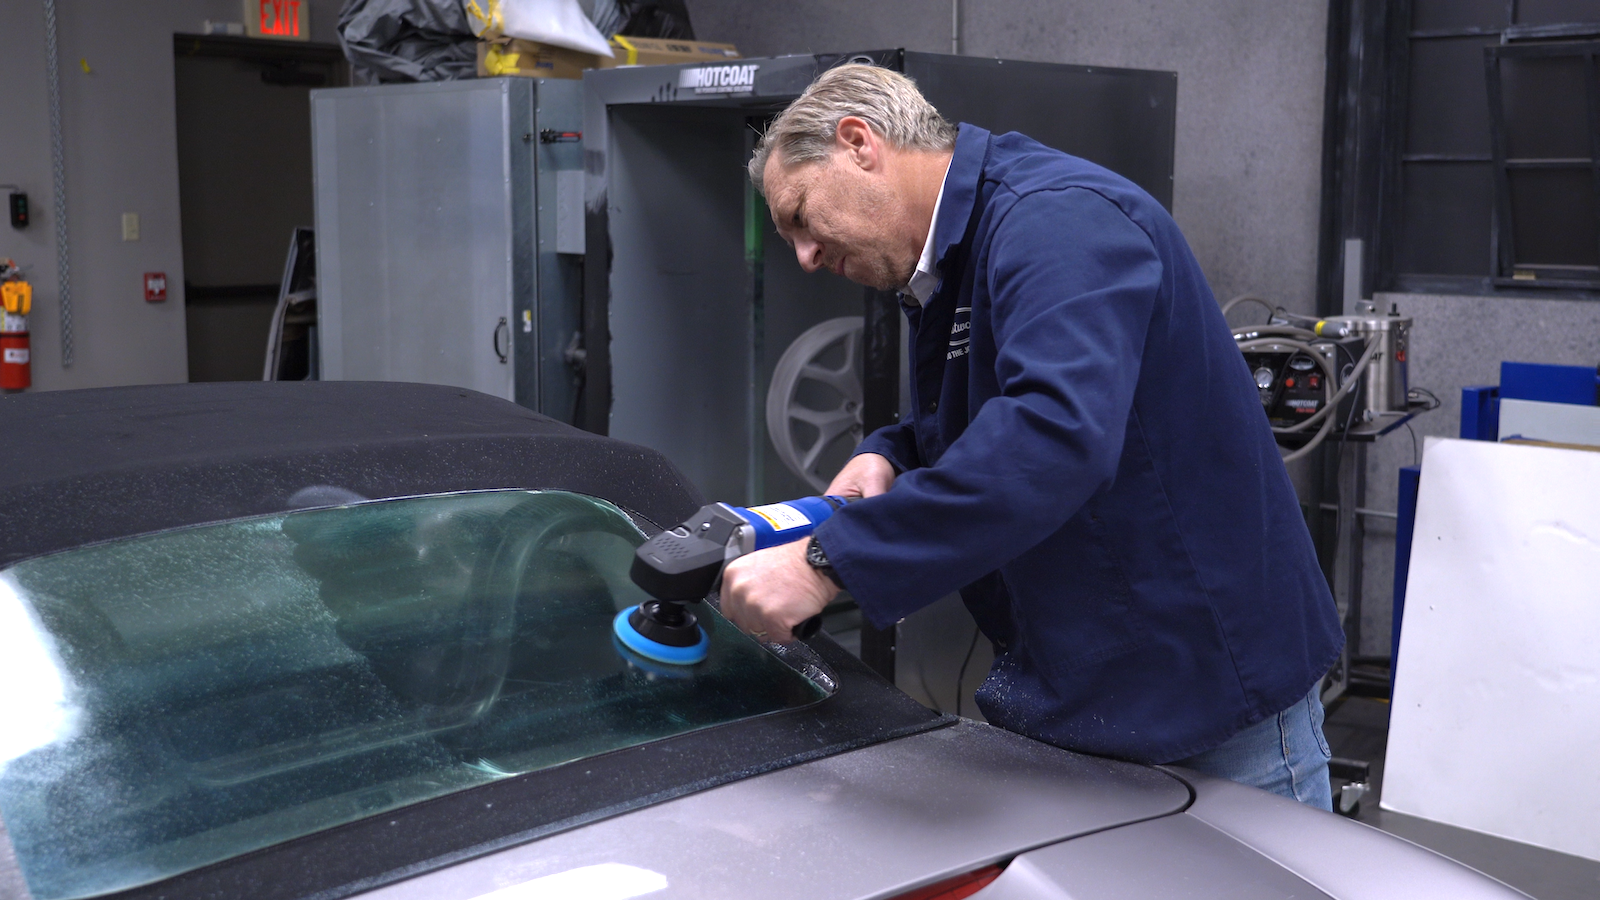
To test this out, I first wiped the window with a glass cleaner and a microfiber towel to remove any debris on the surface. To apply the two liquid compounds, I used a high-speed buffer with small foam pads, removing the residue between applications with dedicated microfiber window towels. Here’s how it went:
Step 1: Cutting Compound
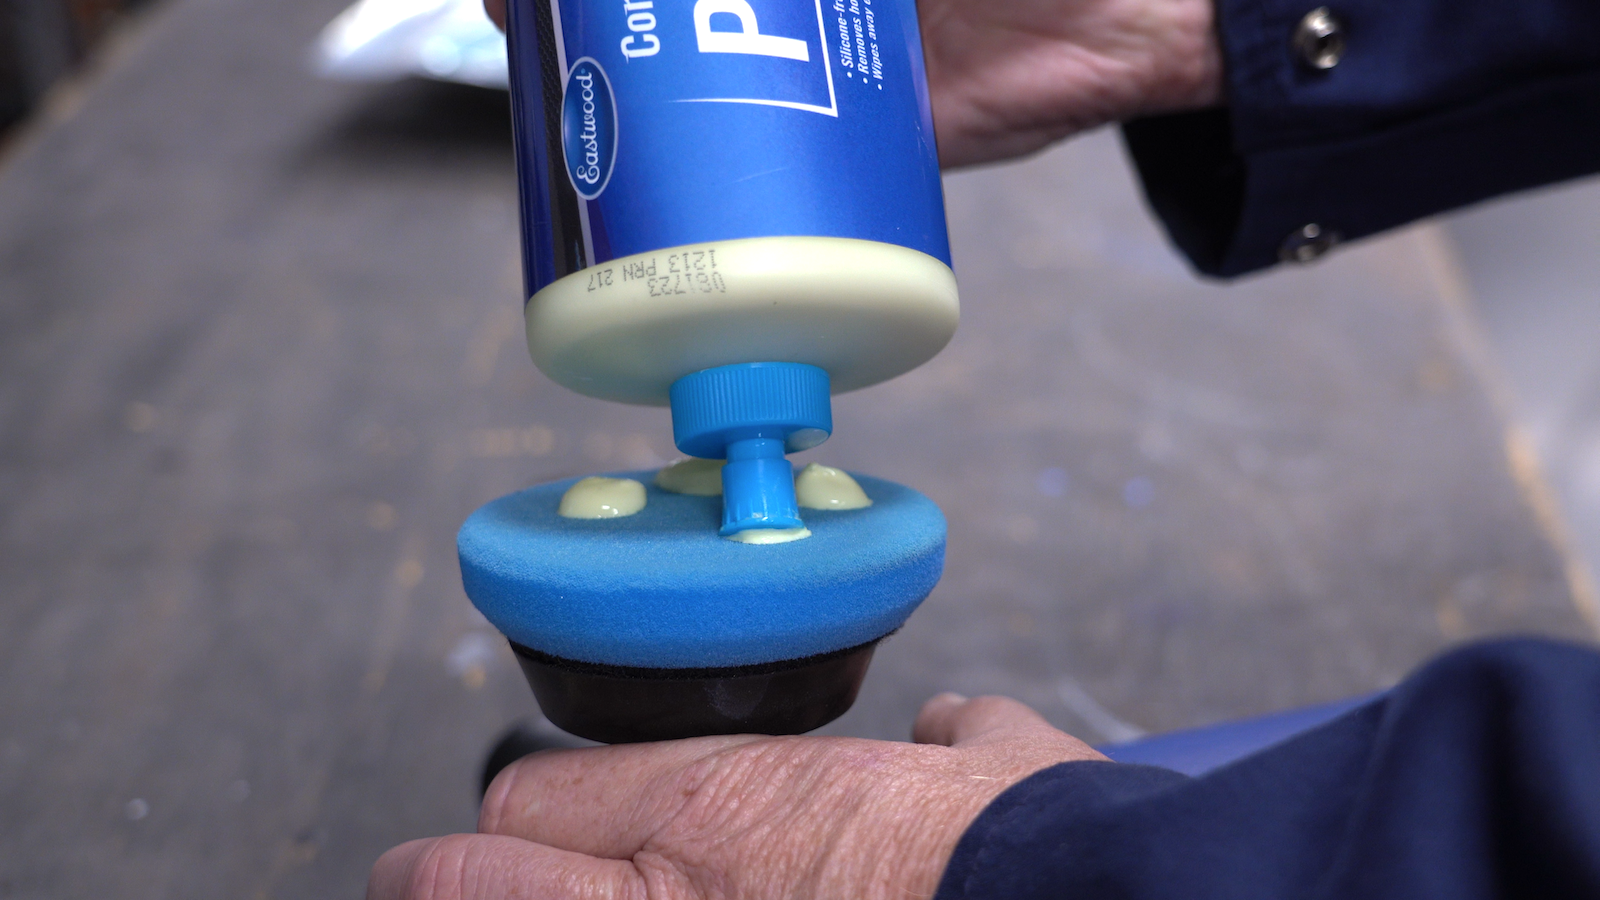
Because I was working on a soft material, I started with a medium-cut foam pad to apply the Eastwood Concours Cutting Compound. This product also says “Step 1” on the label, making it easy to distinguish from the polish that follows. I dropped five small dollops of compound on the pad and worked it in with my fingertips. This was to ensure there were no dry spots on the pads when I started the buffer, which might have burned through the surface.
I set the buffer to speed level 3 and worked the pad across the window, never stopping in one place. The buffing pattern alternated between horizontal and vertical to obtain even coverage. By the time I’d polished about half of the window, the compound was starting dry out and drag a bit. I hit the pad with a fresh supply of compound, working it into the foam again before moving to the other half of the window. Once the entire window had been polished, I did a third application focused entirely on the more heavily clouded section in the center before wiping the window clean.
This first pass resulted in a mild improvement in clarity, but the job was obviously not done. The pad, however, provided evidence the process was working as it became discolored with dirt and debris.
Step 2: Finishing Polish
With the first step complete, I switched to a soft foam pad to apply the finer finishing polish. The same procedure was repeated for conditioning the pad, working the polish into it to ensure full coverage.
I started the buffer on speed level 3 again and worked in the same horizontal/vertical pattern. Once I had polished the first half of the window, I bumped the speed slightly to level 4 to generate just a bit more heat. At this point, it was critical to maintain a wet edge on the pad, as any dry spot could have potentially led to a scuff or burn.
I repeated this sequence for the other half of the window, watching the window become much clearer in the process. I finished by giving the center stripe some extra attention with fresh polish, working only at speed level 4 for the final pass.
Conclusion
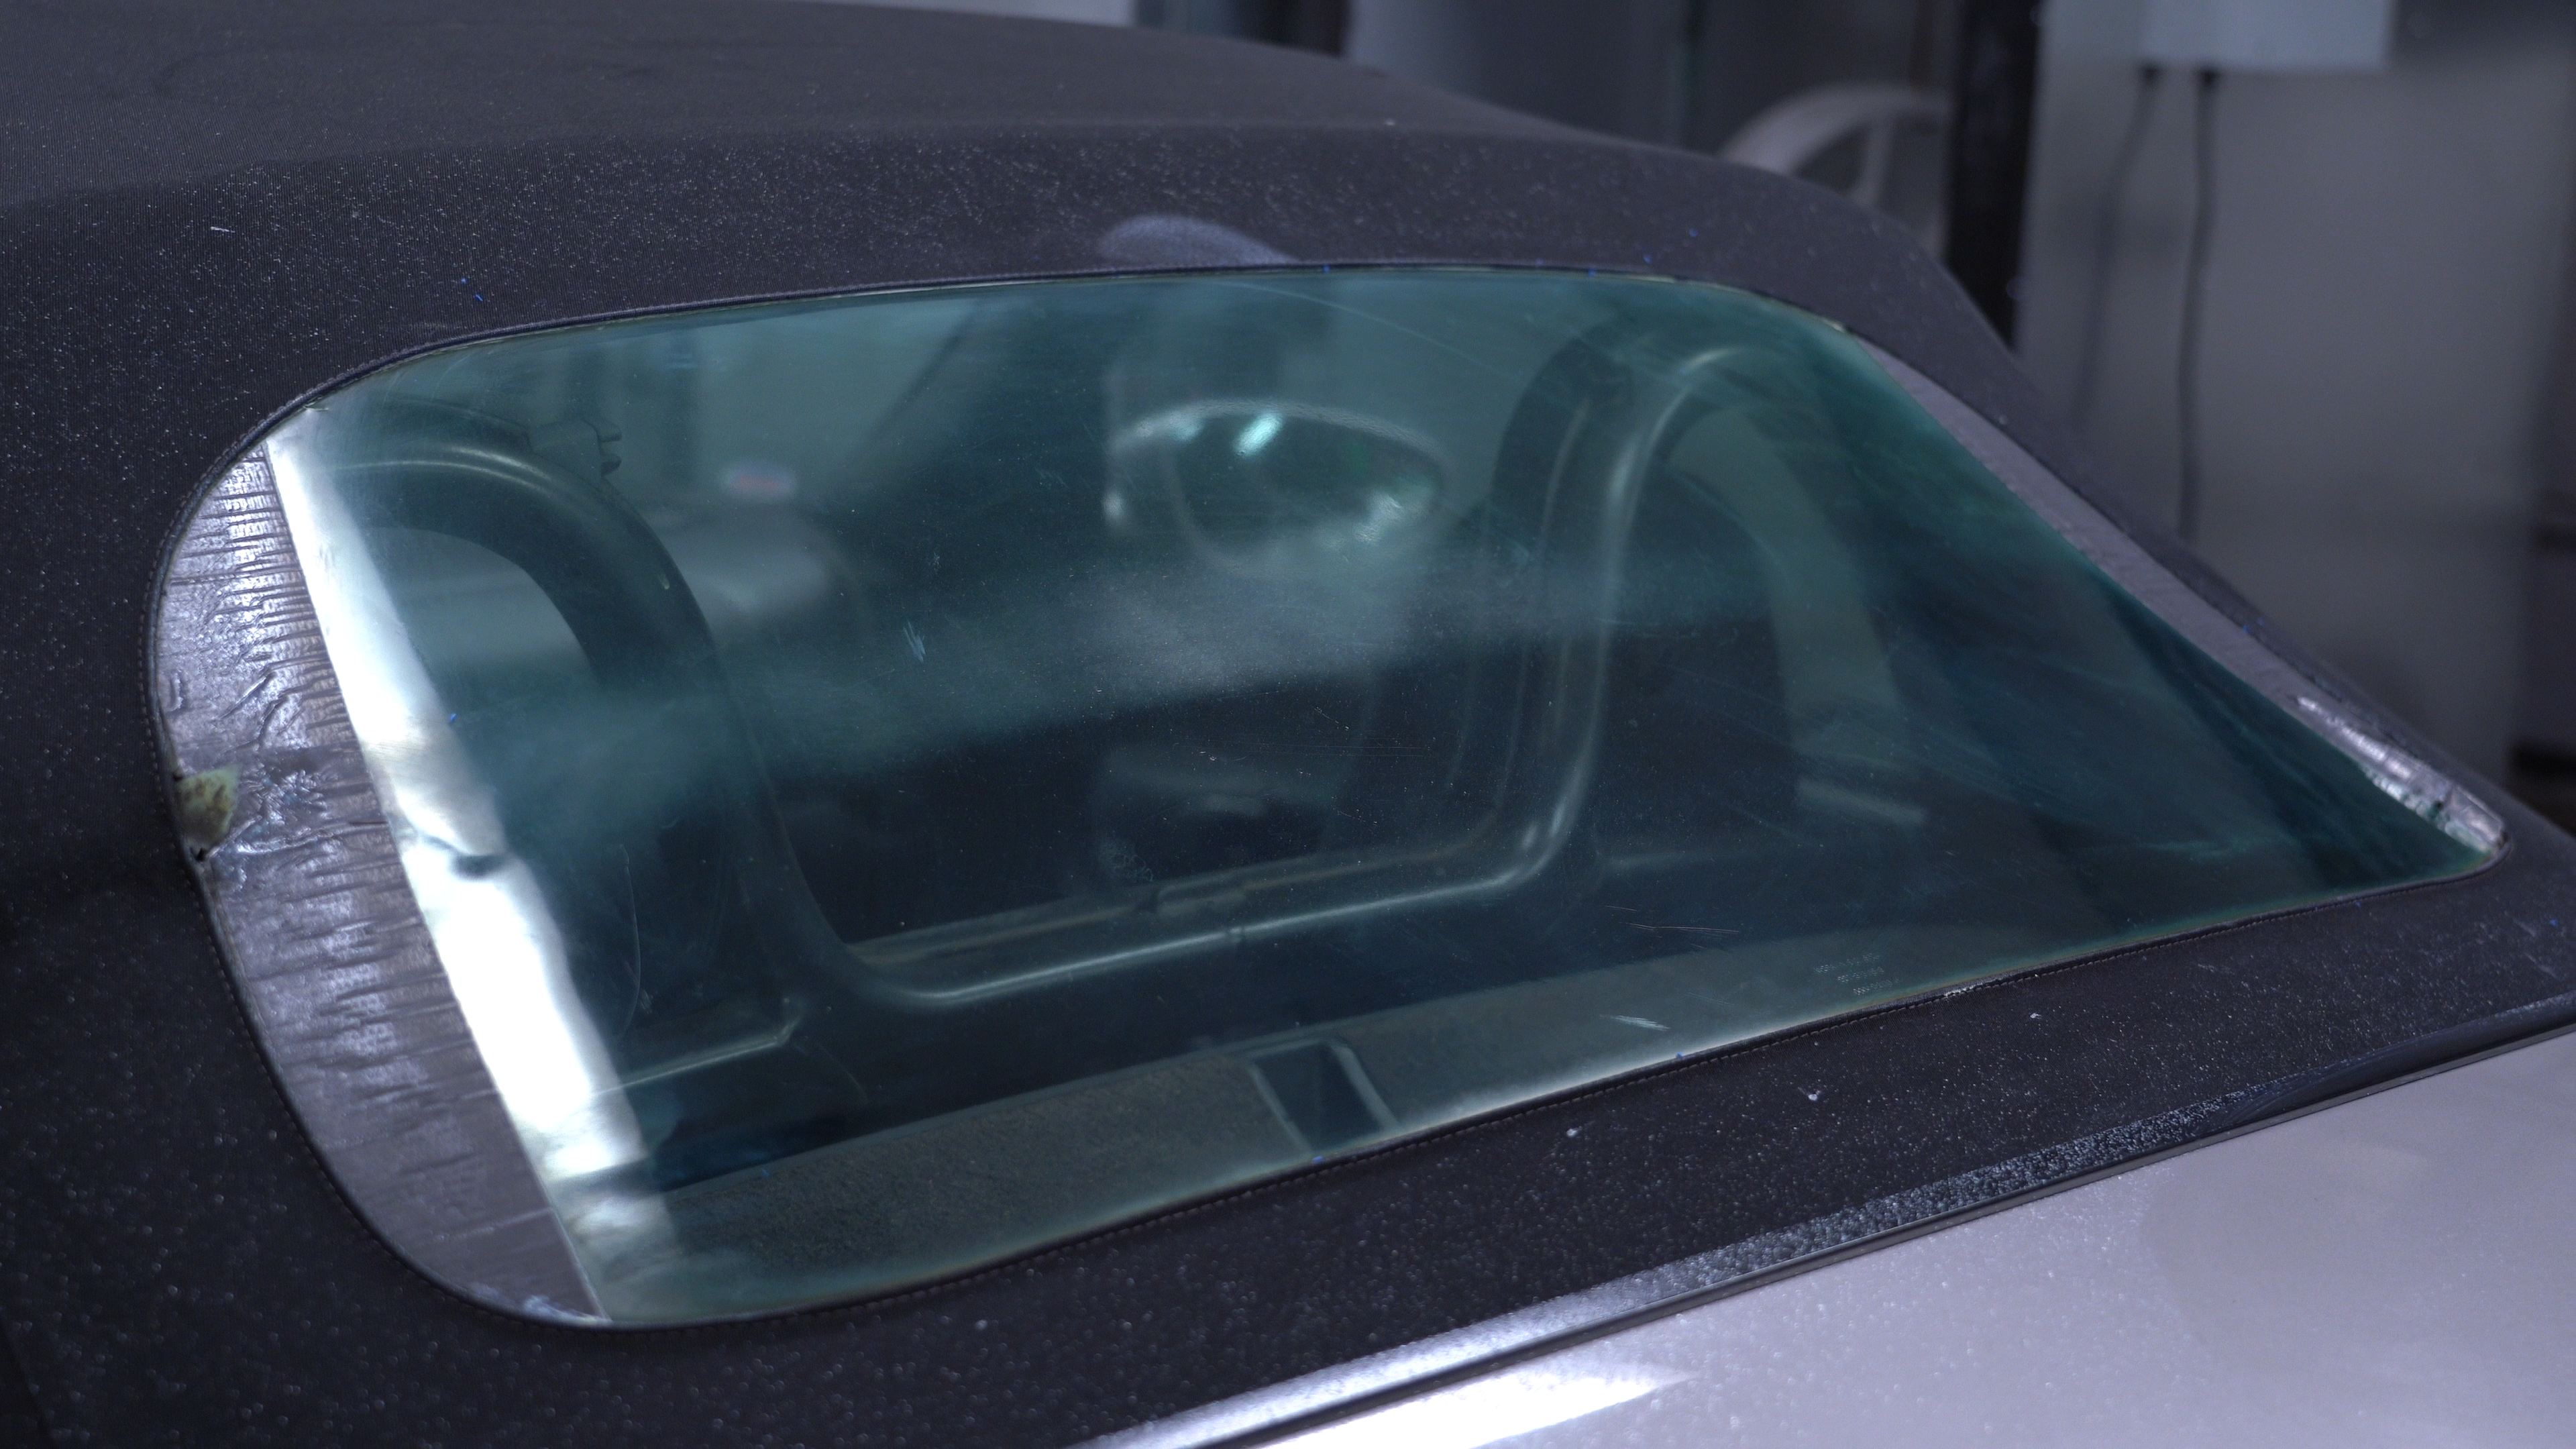
So how did it do? Overall, the two-step polishing procedure worked well for cleaning up general cloudiness on most of the window. The more heavily abraded folding section got clearer as well, becoming significantly transparent again if not completely clear. Repeating the whole process again only on that area may have yielded better results, but it’s unlikely to have restored it completely.
The view from inside the car improved substantially, something that’s especially noticeable in the reduction in headlight glare when driving at night. I also noticed when I approach the car, I can now see through the window into the interior.
In the end, I think this process should be considered part of a regular cleaning and detailing routine rather than seen as a last-ditch effort save a damaged window. Depending on how the vehicle’s used, maybe a once-yearly polishing would be a good idea, or at least every couple years even with light use. I know I’ll be adding this to my routine once I install that new top.
RESOURCES IN THIS ARTICLE
- Eastwood Concours Fast Cutting Compound – Item # 67065
- Eastwood Concours Finishing Polish – Item # 67066
- Eastwood Variable Speed Buffer Polisher – Item # 32488
- Eastwood Concours Mini Backing Plate Set – Item # 66358
- Eastwood Concours Mini Polishing Pad Set – Item # 66359
@Nick, probably not aggressive enough for glass, but wouldn’t hurt to try it.
Same products to remove scratches and wiper rubs from a windshield? Or not a good idea on glass?
@Tim Lyle, it should work similarly. If anything, the harder material of a polycarbonate windshield is probably easier to work with than the soft vinyl window. We’ll have to schedule a test on bike. Thanks
How would this system work on a cloudy motorcycle wind screen. I believe it’s a poly-carb windshield.