


Videos and Articles


How To Powder Coat
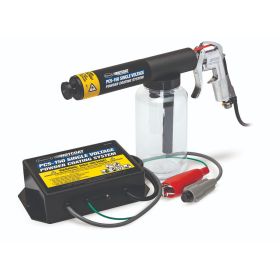
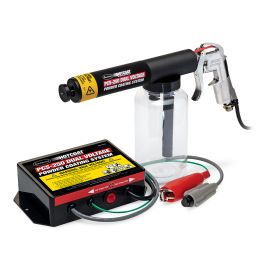
Powder Coating is a simple and easy way to apply a highly durable coating. The videos in the embedded playlist will walk you through the basic steps, demonstrate the features of the Eastwood powder coating kit as well as the necessities and accessories you need for powder coating, and even show some cool projects we completed with our home powder coating equipment right here at Eastwood.
Perfectly Powder Coated Wheels- 10 Tips to Make Your Wheels Look Great
It’s a known fact that a set of wheels can make or break a car. We’ve seen some of the biggest “junkers” become legendary with a nice set of wheels and a ride height adjustment. The opposite can happen when you have a nicely restored vehicle that has dirty, beat-up, or badly finished wheels. It can ruin the overall appearance of the car or truck. We’re here to show you how to make your rolling stock look as good as your ride with these 10 tips to powder coated wheel perfection....READ MORE
Powder Coat It Black
I’m building a few projects at once, and it seems just about every one of them needed some sort of black powder coating done before I could start reassembly. I took this past weekend and cranked up my favorite Rolling Stones song and tackled my growing pile of parts for black powder treatment....READ MORE
Vintage Modular Race Wheel Restoration
For some people, the parts that are actually “on” a car are what really make it stand out from the crowd. It could be that rare OEM accessory, those unique mag wheels, or a shiny after market valve cover. Whatever it is, you wanted it because you knew the guy parked next to you at the show will most definitely NOT have it on his car. For some of us, it is necessary, that is unless you have some sort of ultra-rare low numbers car that speaks for itself all original… Otherwise, the rest of us tend to search the local classifieds, online auto forums, Ebay, flea markets, yard sales, craigslist, etc. for that “killer deal” on that perfect part to finish off your project. There are many different options when it comes to the restoration and modification of your vehicle. For myself, personally, I am a nut for old vintage aftermarket parts for the European vehicles that I tinker with. Anything from old race parts, to retro steering wheels, to literature, I am constantly seeking out rare old pieces of history from these cars....READ MORE
Powder Coating FAQ
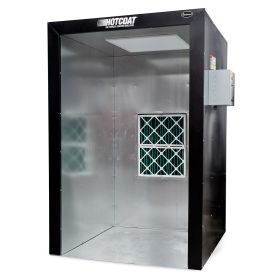
What is powder coating? – Powder coating is a dry painting process that uses a fine powder with the consistency of powdered sugar, and an electrical charge to coat an object. Then the piece is baked in an oven at 400+ degrees Fahrenheit to make the powder melt and flow together. Once it is cooled and cured the powder coat has formed a solid plastic coating over the entire surface that is much more durable than regular paint....READ MORE
What is “Hot Flocking” and When do I do it?
If you’re just getting into the world of powder coating you surely have read or heard about “hot-flocking” but few understand why it can be beneficial. We decided to put together a few tips about the process of Hot Flocking powder on an item when powder coating....READ MORE
Can You Powder Coat Glass?
We all know you can powder coat metal but what about other materials such as glass? In order to powder coat an item there is really only one determining factor, it must be able to withstand 400ºF. Metal is one of the best materials to powder coat because it conducts electricity, allowing the charged powder to be drawn to the part thus completing the circuit. That leaves out all other non conductive items, can they be powder coated too? Hot flocking is the most common way of powder coating non conductive objects by heating them up to temperature, pulling them out of the oven and then applying the powder without needing to connect the grounding cable or plug in the gun. The part is already hot so the powder melts on contact....READ MORE
Tips to save time when Powder Coating Harley Wheels
You may or may not realize that Eastwood has been there since Day 1 in the DIY Powder Coating market. We were the first to come out with an affordable powder coating system for a DIY’er to use in their home shop. The days of paying top dollar to send your parts to an industrial-type powder coating firm or compromising by using aerosol paint on your parts. Because we’ve been there for so long, we’ve powder coated just about anything that could (we’ve even tried stuff that couldn’t!) be coated. Along the way we’ve picked up some tips and tricks to save yourself time when powder coating parts at home. I recently powder coated a set of Harley Davidson wheels and took some pictures to show some things you can do to save yourself extra time after your parts are coated and cured....READ MORE
How To Powder Coat
Powder Coating is a simple and easy way to apply a highly durable coating. The videos in the embedded playlist will walk you through the basic steps, demonstrate the features of the Eastwood powder coating kit as well as the necessities and accessories you need for powder coating, and even show some cool projects we completed with our home powder coating equipment right here at Eastwood.