


How To Paint a Car

-
-
-
-
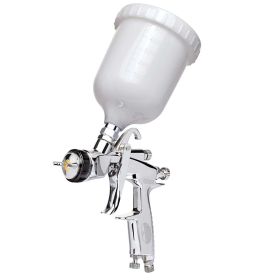
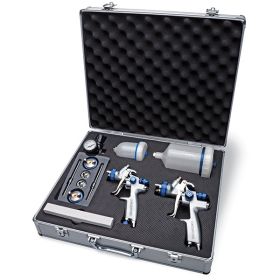
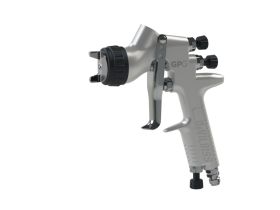
 Eastwood Concours 2 - Single HVLP Spray Paint Gun Kit in Aluminum CaseReg. $179.99 Sale $159.97 Save $20.02
 -
-
-

Eastwood Teaches You How To Paint a Car!
Watch the video above as we walk you through every step of painting a car. We show you how to do the bodywork to get the car straight, spray epoxy and high build primers, sand to perfection, prep for paint, and ultimately spray the color and clear.
We even supply detailed instructions of every step as well as the supplies you need to do the job right. This list of steps and supplies will make it easy for you to follow and make sure you have everything you need on your way to perfection. Print them page or save the URL for future reference.
Basic Steps (details are at top of page)
Prep Panel with 80 grit sandpaper.
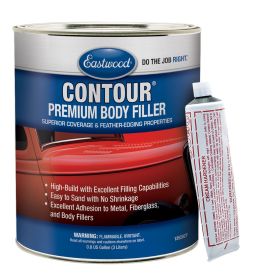
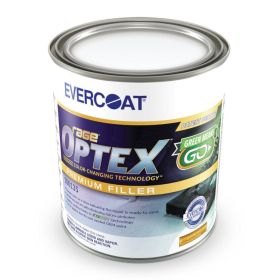
Apply bodyfiller and sand with 80 grit.
Apply Guide Coat to find low spots and sand with grits 80 - 320.
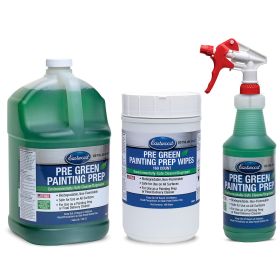
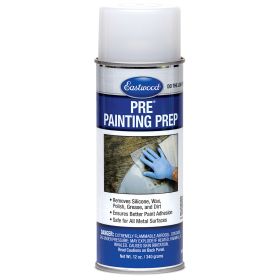
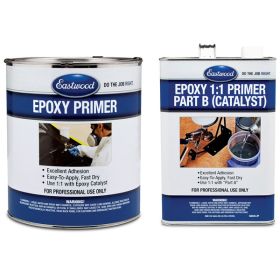
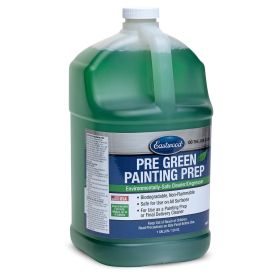
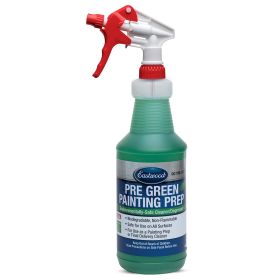
Prep with Pre Paint Prep and spray Epoxy Primer.
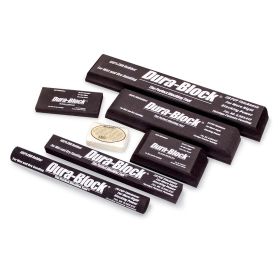
Block sand in a cross-hatch pattern with 320 grit on a sanding block.
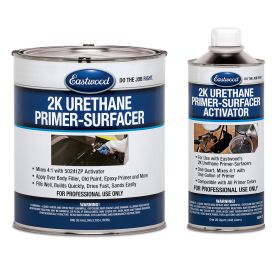
Prep with Pre Paint Prep and spray Urethane High Build Primer.
Block sand in a cross-hatch pattern with 320 grit on a sanding block.
Prep with Pre Paint Prep and spray 2-3 coats of basecoat.
Wet sand, if needed.
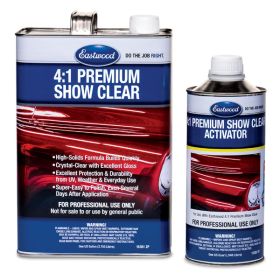
Prep and spray clearcoat (do not use Pre to prep at this step).
Sand clearcoat in a cross-hatch pattern with grits 1000, 1500, 2000.
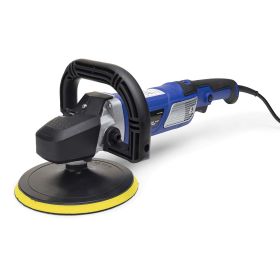
Buff using a quality system.